
The time has come, and you’re ready to upgrade your Nintendo Switch to the next generation: the Switch 2. While there are lots in common between iterations, the Switch 2 has several upgrades to bring your gaming to the next level. However, changing consoles can sometimes be a hassle, especially if you don’t do it often (and you shouldn’t) and save data is involved. Have no fear! Here is how to transition from a Switch to Switch 2.
1) Yes, update that Nintendo Switch
Nintendo recently dropped an update–20.1.0–which is meant to facilitate the transition to the Switch 2, so do not ignore it. To manually launch the update, click on the Settings button on the home screen, select Systems, and click System Update.

2) Choose your method
There are two ways to transfer, locally and systematically. The local transfer is the most convenient method if you are able to do so.
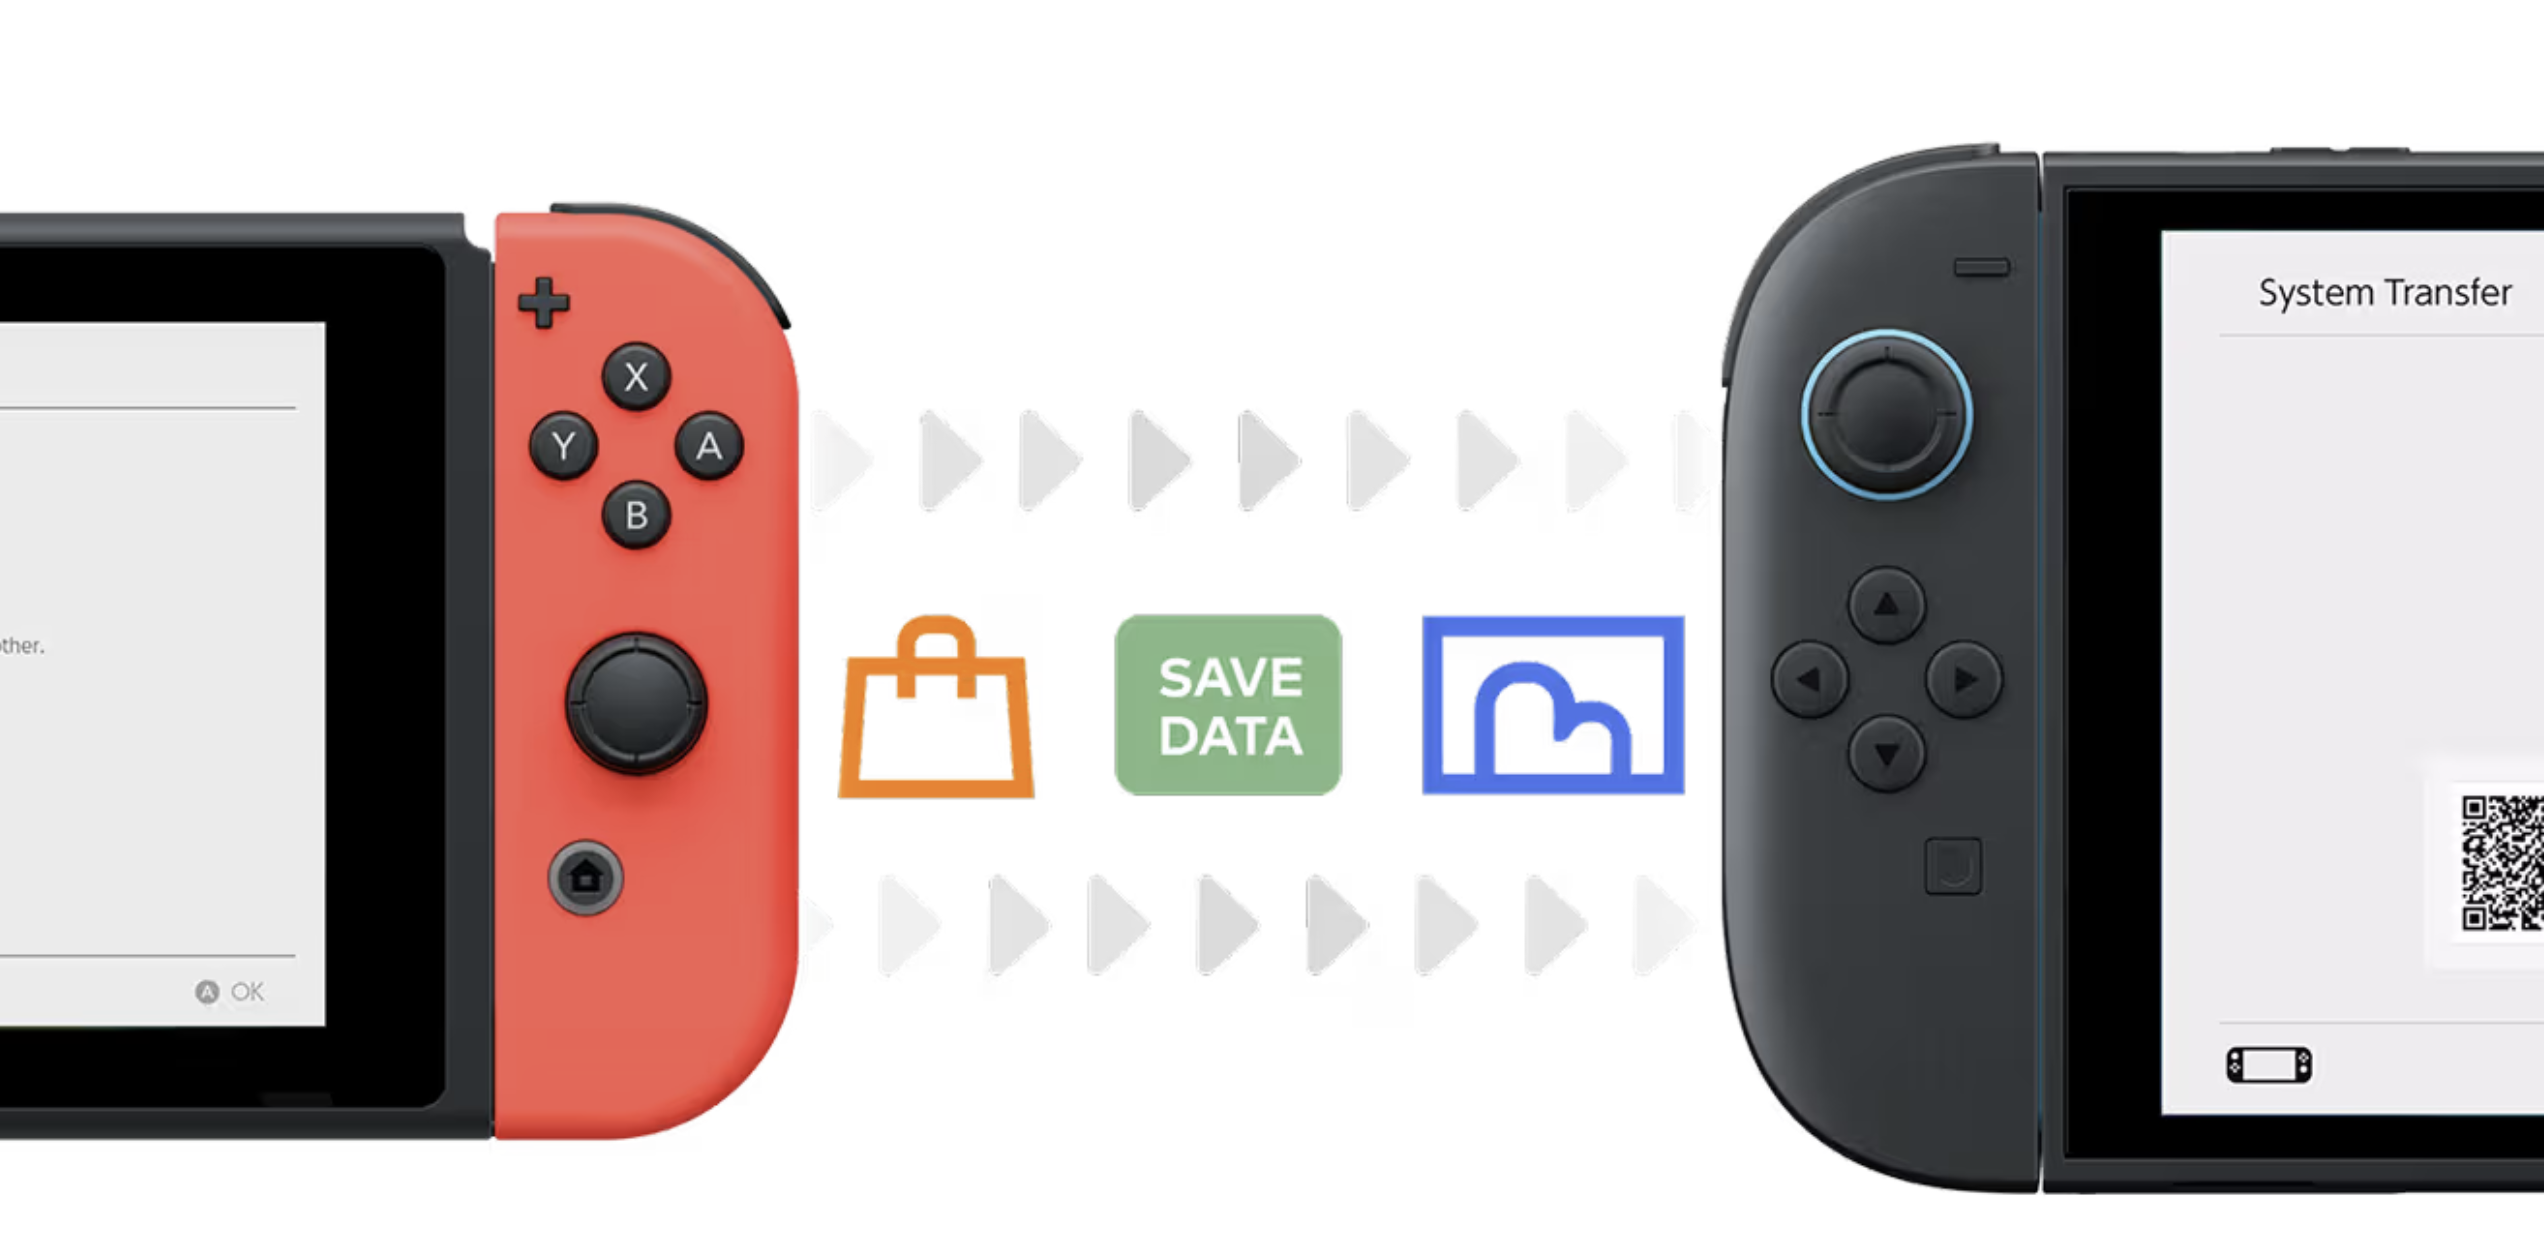
2a) Local Transfer
This is if you have both your Nintendo Switch and Switch 2 in-hand. The close proximity will allow for a local communication system transfer.
- Ensure good, local internet connect
- Open and launch your Switch 2 for the first time
- Complete First-Time Setup options
- The Switch 2 will ask if you have a Switch. If you select this and follow the prompts, you can perform a local transfer
- If you already set up your Switch 2 and bypassed the above bullet, you can open the Systems menu on the Home screen of your Switch. There, you will see a System Transfer option. Select that and follow the prompts.

2b) System Transfer (via Server)
This is less preferred–even by Nintendo–who states this should be reserved only if you won’t have your Switch on-hand when you obtain the Switch 2. You upload all your Switch data on a dedicated server, where it will live until a Download Deadline, after which, all data will be deleted. You retrieve the data from the server with your Switch 2.
- Ensure good, local internet connect
- On your Switch, select Settings from your home screen, then select System
- From there, scroll toward the bottom and select System Transfer to Nintendo Switch 2

- Select the prompts are they appear (Next and OK), including that you don’t have your Nintendo Switch 2 yet.

- Document the Download Deadline, which is one year from the date of requested transfer

- Upload Data to the server and follow the prompts until it is complete
- Select Start Initialization. Keep in mind, once initialized, data for all users will be wiped from your Switch.
- You can always check the status of the transfer on your Nintendo Account website.
3) Things to know
- What can be transferred: User profile, digital games you own, game save data, screenshots and videos, and parental controls.
- After completion of the transfer, your digital games will automatically be redownloaded to the Switch 2.
- Not all Switch games are compatible with the Switch 2. See the updated list on Nintendo’s website.
Pow Block Podcast – A Nintendo Podcast by Boss Rush
Nintendo Pow Block is the weekly Nintendo Podcast for Boss Rush Media and The Boss Rush Network. Each week, Edward Varnell and Corey Dirrig, as well as their friends from around the internet dive into the week that was in the world of Nintendo, including news, rumors, new games, discuss weekly pickups, and fan favorite segments like Question Block where they answer community questions, what they’ve been playing in Playing with Power, and their latest food quests in Snacktendo! New episodes every Monday on YouTube and podcast services.
Email the Show: nintendopowblock@gmail.com
Listen to Nintendo Pow Block:
Apple Podcasts | Spotify | YouTube Music | Amazon Music | Castbox | Overcast | Pocketcasts | RadioPublic | Spotify for Podcasters
Follow and Connect:
Bluesky | X (Formerly Twitter) | Instagram | Threads | Facebook | LinkedIn
Join Our Community:
Discord | Facebook | LinkedIn
Featured Image Source: Nintendo
Source: Nintendo
Leave a Reply